All of you are welcome in our article. In this article, I am telling about How to Take Screenshot in Laptop. You are working on a laptop and suddenly you need to take a picture/screenshot of a Window or background item. What will you do now? Some people start looking at their camera or mobile at such a time, which is very ridiculous. Therefore it is important that you learn about How to Take Screenshot in Laptop.

Screenshots are a very simple way to capture the background or part of a backpack or Laptop screen, you can also take screenshots in your phone and tablet, taking a screenshot is a very simple process, yet many users download the different type of software to take a screenshot but you do not need to download any other software. You can easily take a screenshot of your laptop's screen.
How to Take Screenshot in Laptop
In this article, I'm going to tell two ways to take a screenshot. In the first method, you can take a screenshot using the print screen button and the second method can take a screenshot using the spinning tool.
Method One: Take a Screenshot Using Print Screen Button
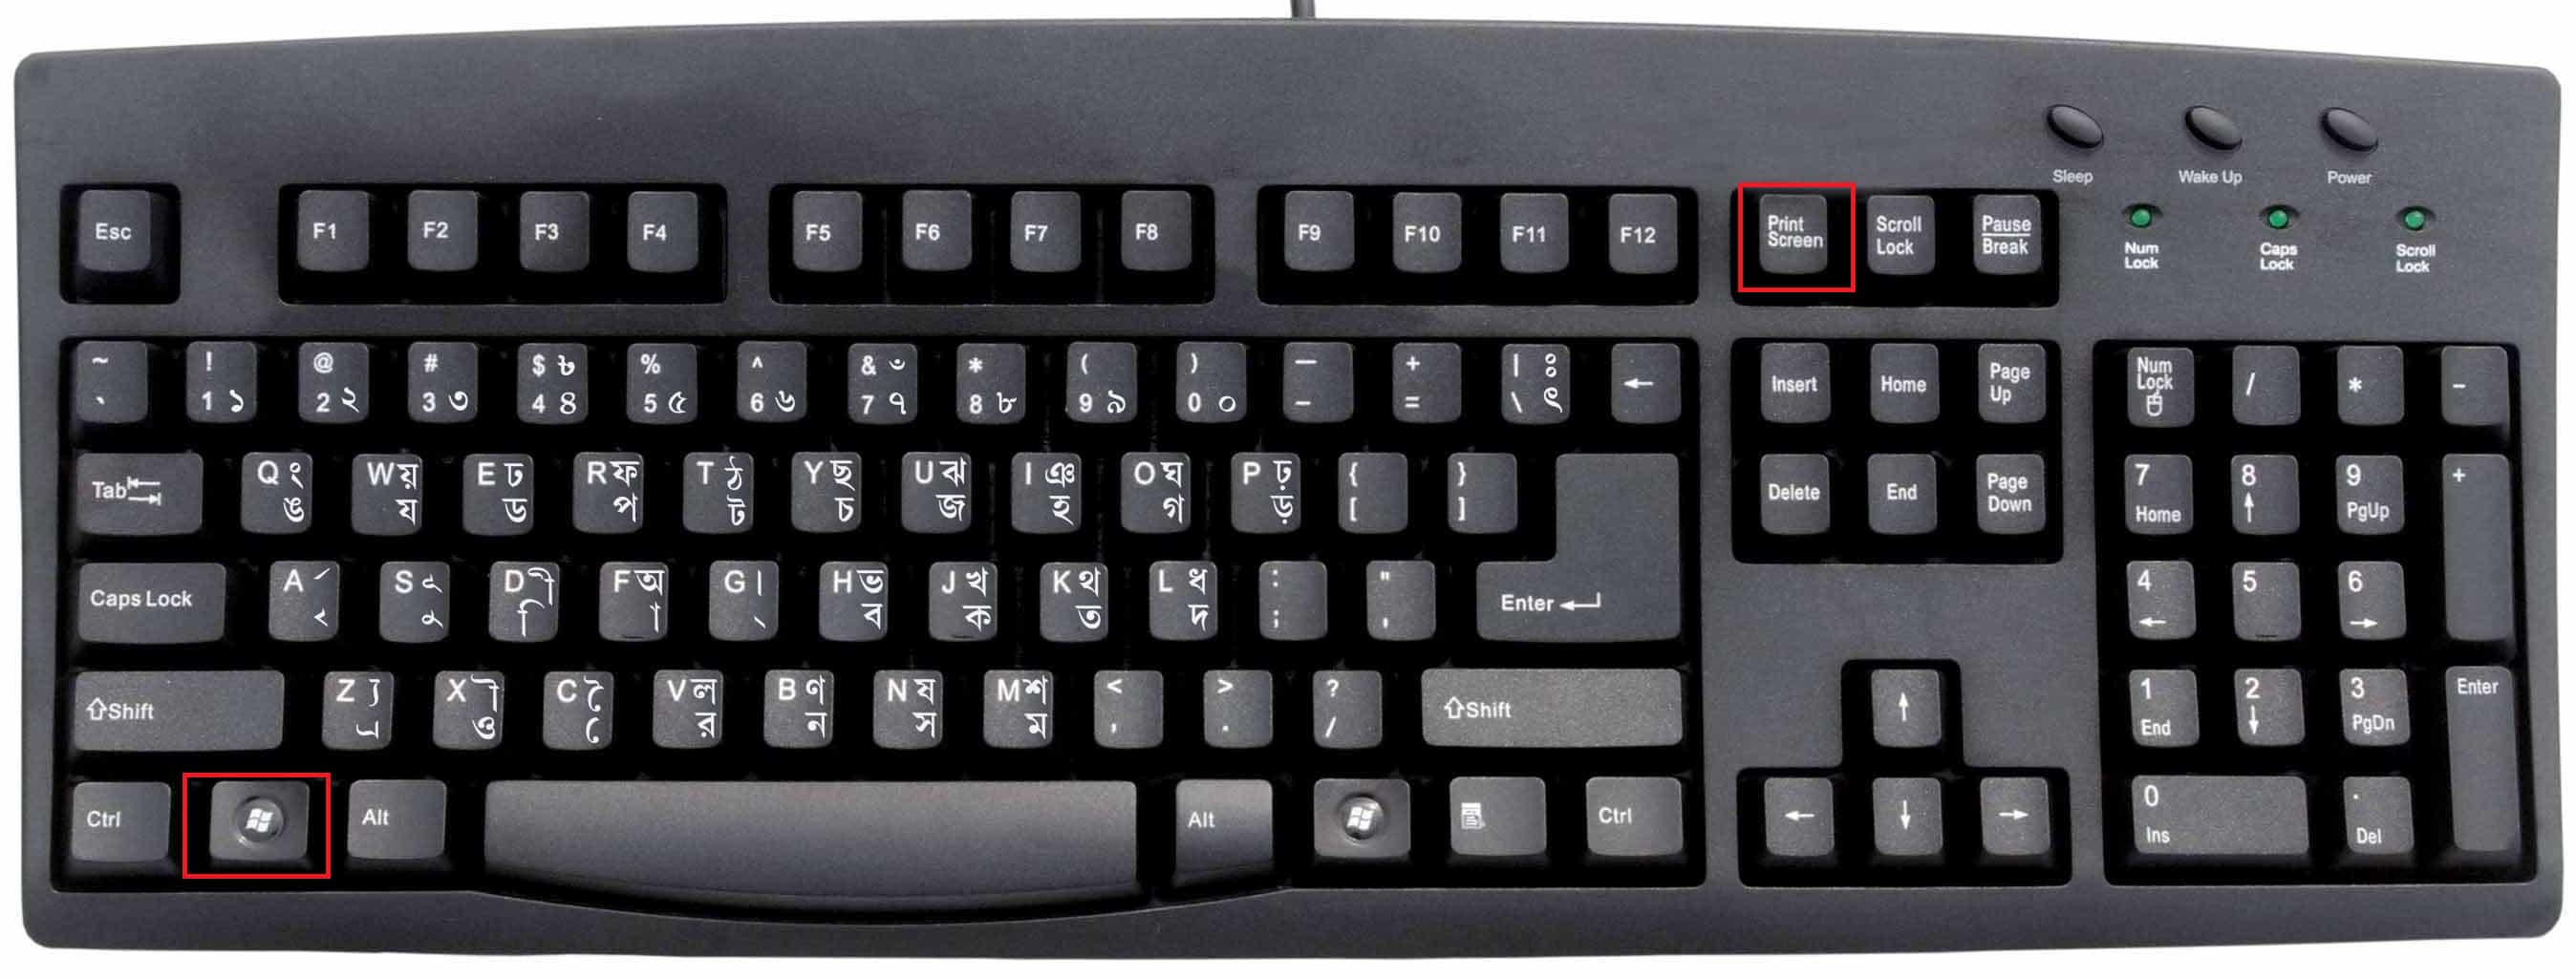
You can easily take a screenshot using Windows key + print screen key. Print screen button can be labeled as “Prtsc”, “Print Screen”, “Print Scr”, “Prtscn” so don't be confused. Sometimes the print screen button does not work because the function (Fn) is not turned on in your laptop.
Steps to Take a Screenshot
- First of all, open the Page or Window that you want to take a full Screenshot.
- Check out the Function (Fn) Key is On.
- After you open the window, press the Print Screen Key + Window Key, press both keys together.
- Now how to find Screenshot image?. Now open File Explorer.
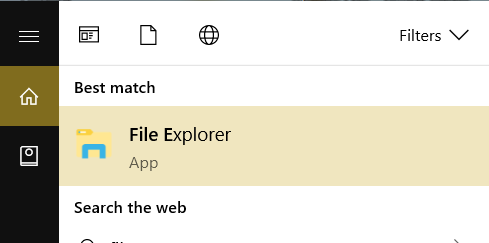
- After you open File Explorer, you will see the option of a picture on the left side, click on it.

- After clicking, you will get the Folder of Screenshot, click on it, the screenshot that you took will be added to the Screenshot folder.
Method Two: Take a Screenshot Using Snipping Tool
A snipping tool is a software that lets you take screenshots. If you have to take a screenshot of a selected area, you can easily take a screenshot with the help of the Snipping Tool. By the way, the snipping tool is available in all windows, if your Windows does not have a Snipping Tool Software, you can download Easily.
Windows Vista, 7 & 8 have some limitations of the Snipping Tool. You can not take screenshots with selected areas in these windows. If you have Windows Vista, 7 and 8 and you have to take a screenshot, then you can use Method 3.
Steps to Take a Screenshot
- First of all, open the Page or Window that you want to take a Screenshot.
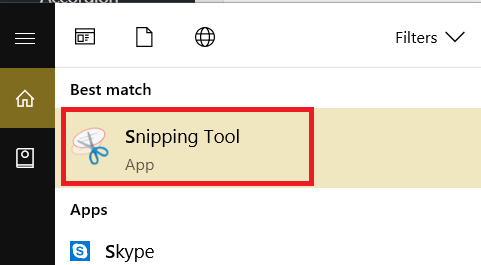
- Click on Windows icon bottom of the left-hand side and search the Snipping Tool.
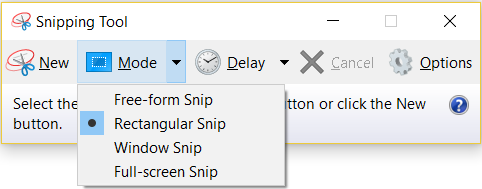
- After you open the tool, you will see a new option on the left side, on the right side of the New Option, click the menu Down icon.

- You will see 4 options of Free-form Snip, Rectangular Snip, Window Snip, Full-Screen Snip, Now you can take Screenshot according to the requirement you need.
- After taking screenshot go to file and select Save as an option and save your screenshot.

Method Three: How to Screenshot using Paint
In Windows Vista, 7 & 8 you can not take a screenshot of the selected area using snipping tool but via Method 3 you can take a screenshot in Windows Vista, 7 & 8.
Steps to Take a Screenshot
- First of all, open the Page or Window that you want to take a Screenshot.
- Check out the Function (Fn) Key is On.
- After you open the window, press the Print Screen Key.
- After Taking a Screenshot Go to Windows icon bottom of the left-hand side and search the Paint tool.
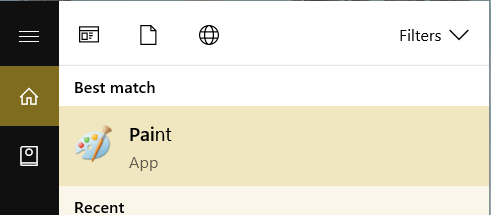
- Open Paint Tool and Press Ctrl + V press both keys together.
- Now you have to click on the Select option from the toolbar of the paint. In the Select Option, you can select the area in 3 ways Rectangular selection, Free-Form selection, and select all. Now you can select the area according to the requirement you need.
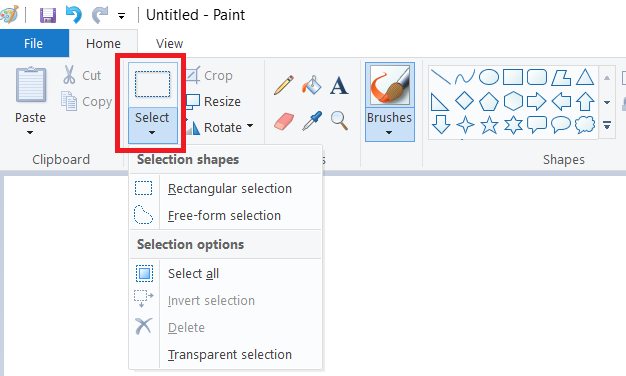
- After the Selecting area press Ctrl + X. Now click the file menu and Select New option and press Ctrl + V.
- Now save the image go to the file menu and select save option and save the file
Also Read:- Characteristics of Computer
Final Words
I hope you liked this article How to Take Screenshot in Laptop. If you liked my post then do not forget to share it on Social Media and you can share it with your friends and also tell them that How to Take Screenshot in Laptop so that they also know about its information.
If you have any problem or doubt about this article, please comment on it below in the Comment Box, we will solve your problems and Doubts.
